Set Accepted File Types for an Assignment
As of Moodle 3.3, teachers can limit the file types that students are allowed to upload to an assignment submission.
Before You Start
Make sure you have a clear and justifiable reason for limiting what students can submit. Restricting file types may prevent students from using formats that are accessible to them or that better demonstrate their work. It’s important to balance the need for specific formats with flexibility, so only impose limitations when absolutely necessary.
Steps
- Open the assignment you want to set accepted file types in.
- Click Edit settings from the “Assignment administration” menu.
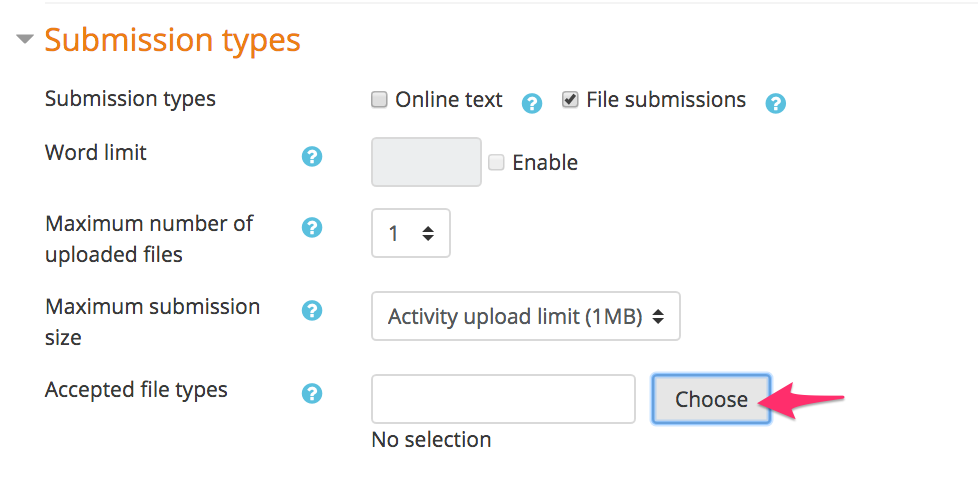
- In the “Submission types” section, locate the “Accepted file types” field and click Choose. If you do not have a “Choose” button, you will need to type in the accepted file types separated by commas (for example, “.png, .jpg”).

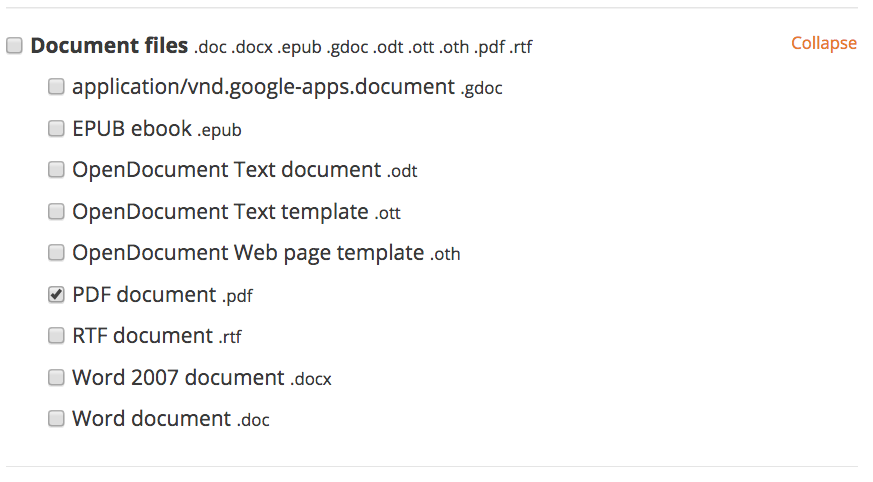
- The available restrictions are organized by category. Check any category name to allow all file types in that category. Check any individual items to allow them without including all others in the category. Multiple categories or individual file types can be selected at once.

- Scroll to the bottom of the file types list and click Save.
- You should see any filetypes you chose listed in the “Accepted file types” field.

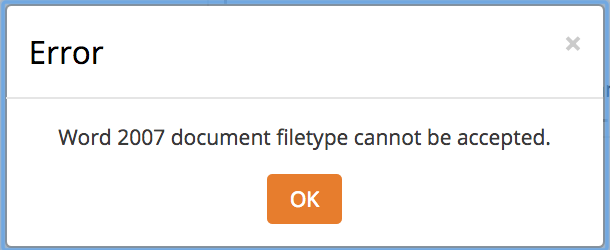
- When students visit the assignment submission screen, they will see a list of allowed file types. If they attempt to upload a non-allowed file, they will see an error message.
