Create a Group
Before You Start
If you plan to use multiple different sets of groups (for instance if you plan on rotating weekly discussion groups or using different sets of groups for different assignments), please see Create a Grouping. In addition to creating groups manually, you can Automatically Create Random Groups.
Part 1: Add the groups
- Open the course you want to add groups to.
- Click Groups from the “Users” drop-down in the “Course administration” menu.

- Click Create group.

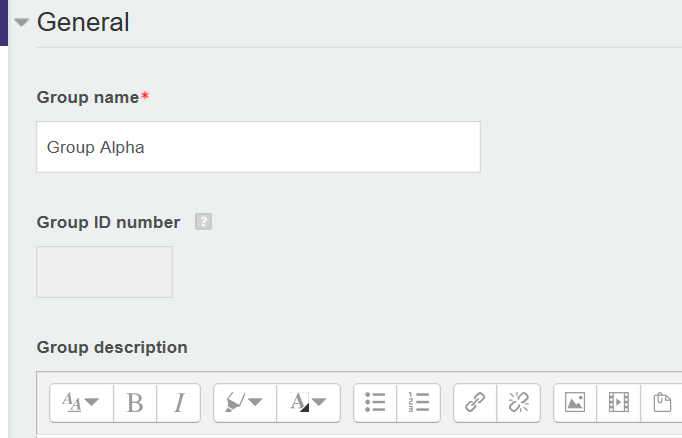
- Add a “Group name” and optionally add a description and profile picture for the group.

- Click Save changes.
Part 2: Add students to the groups
- To add students to each group, select the group and click Add/remove members.

- Use the selection box to choose group members from the class roster and click Add to add them to the group.
- Click Save when you’re done adding all the group members.